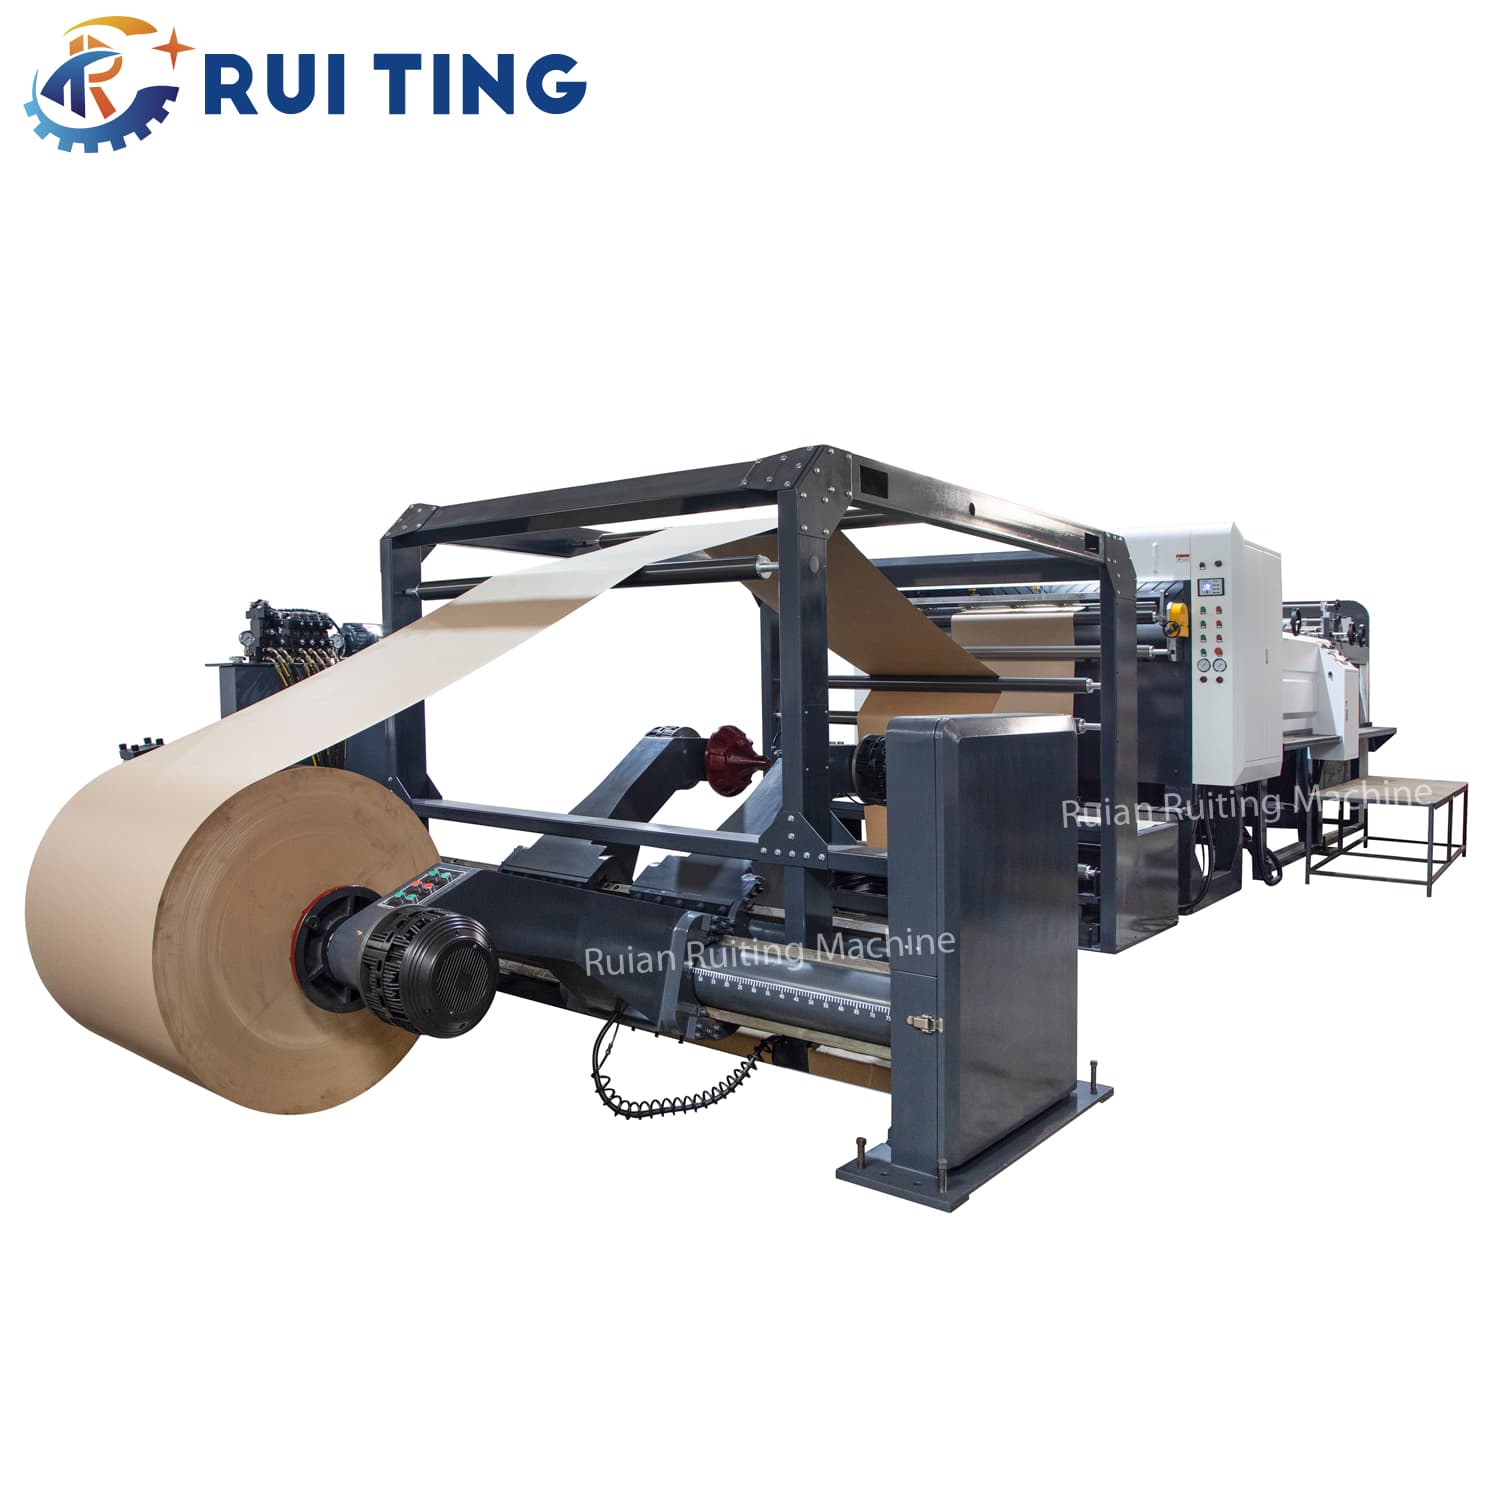
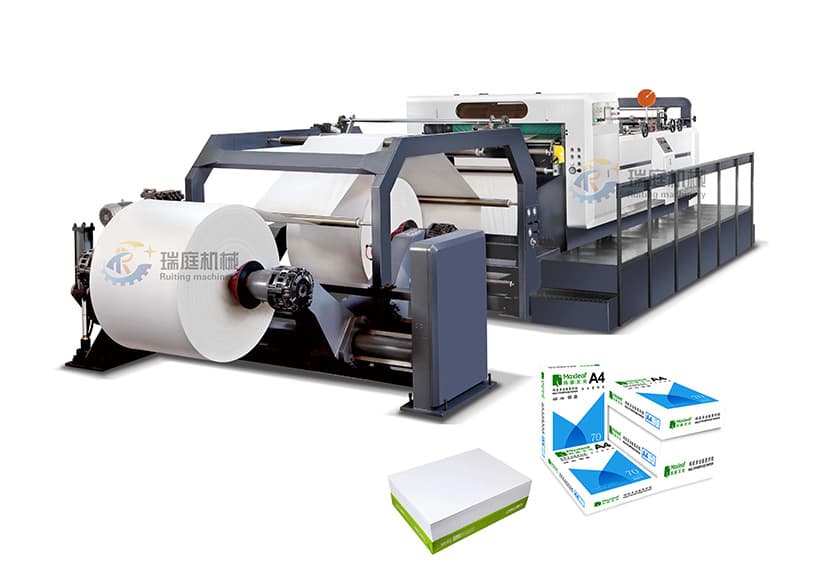
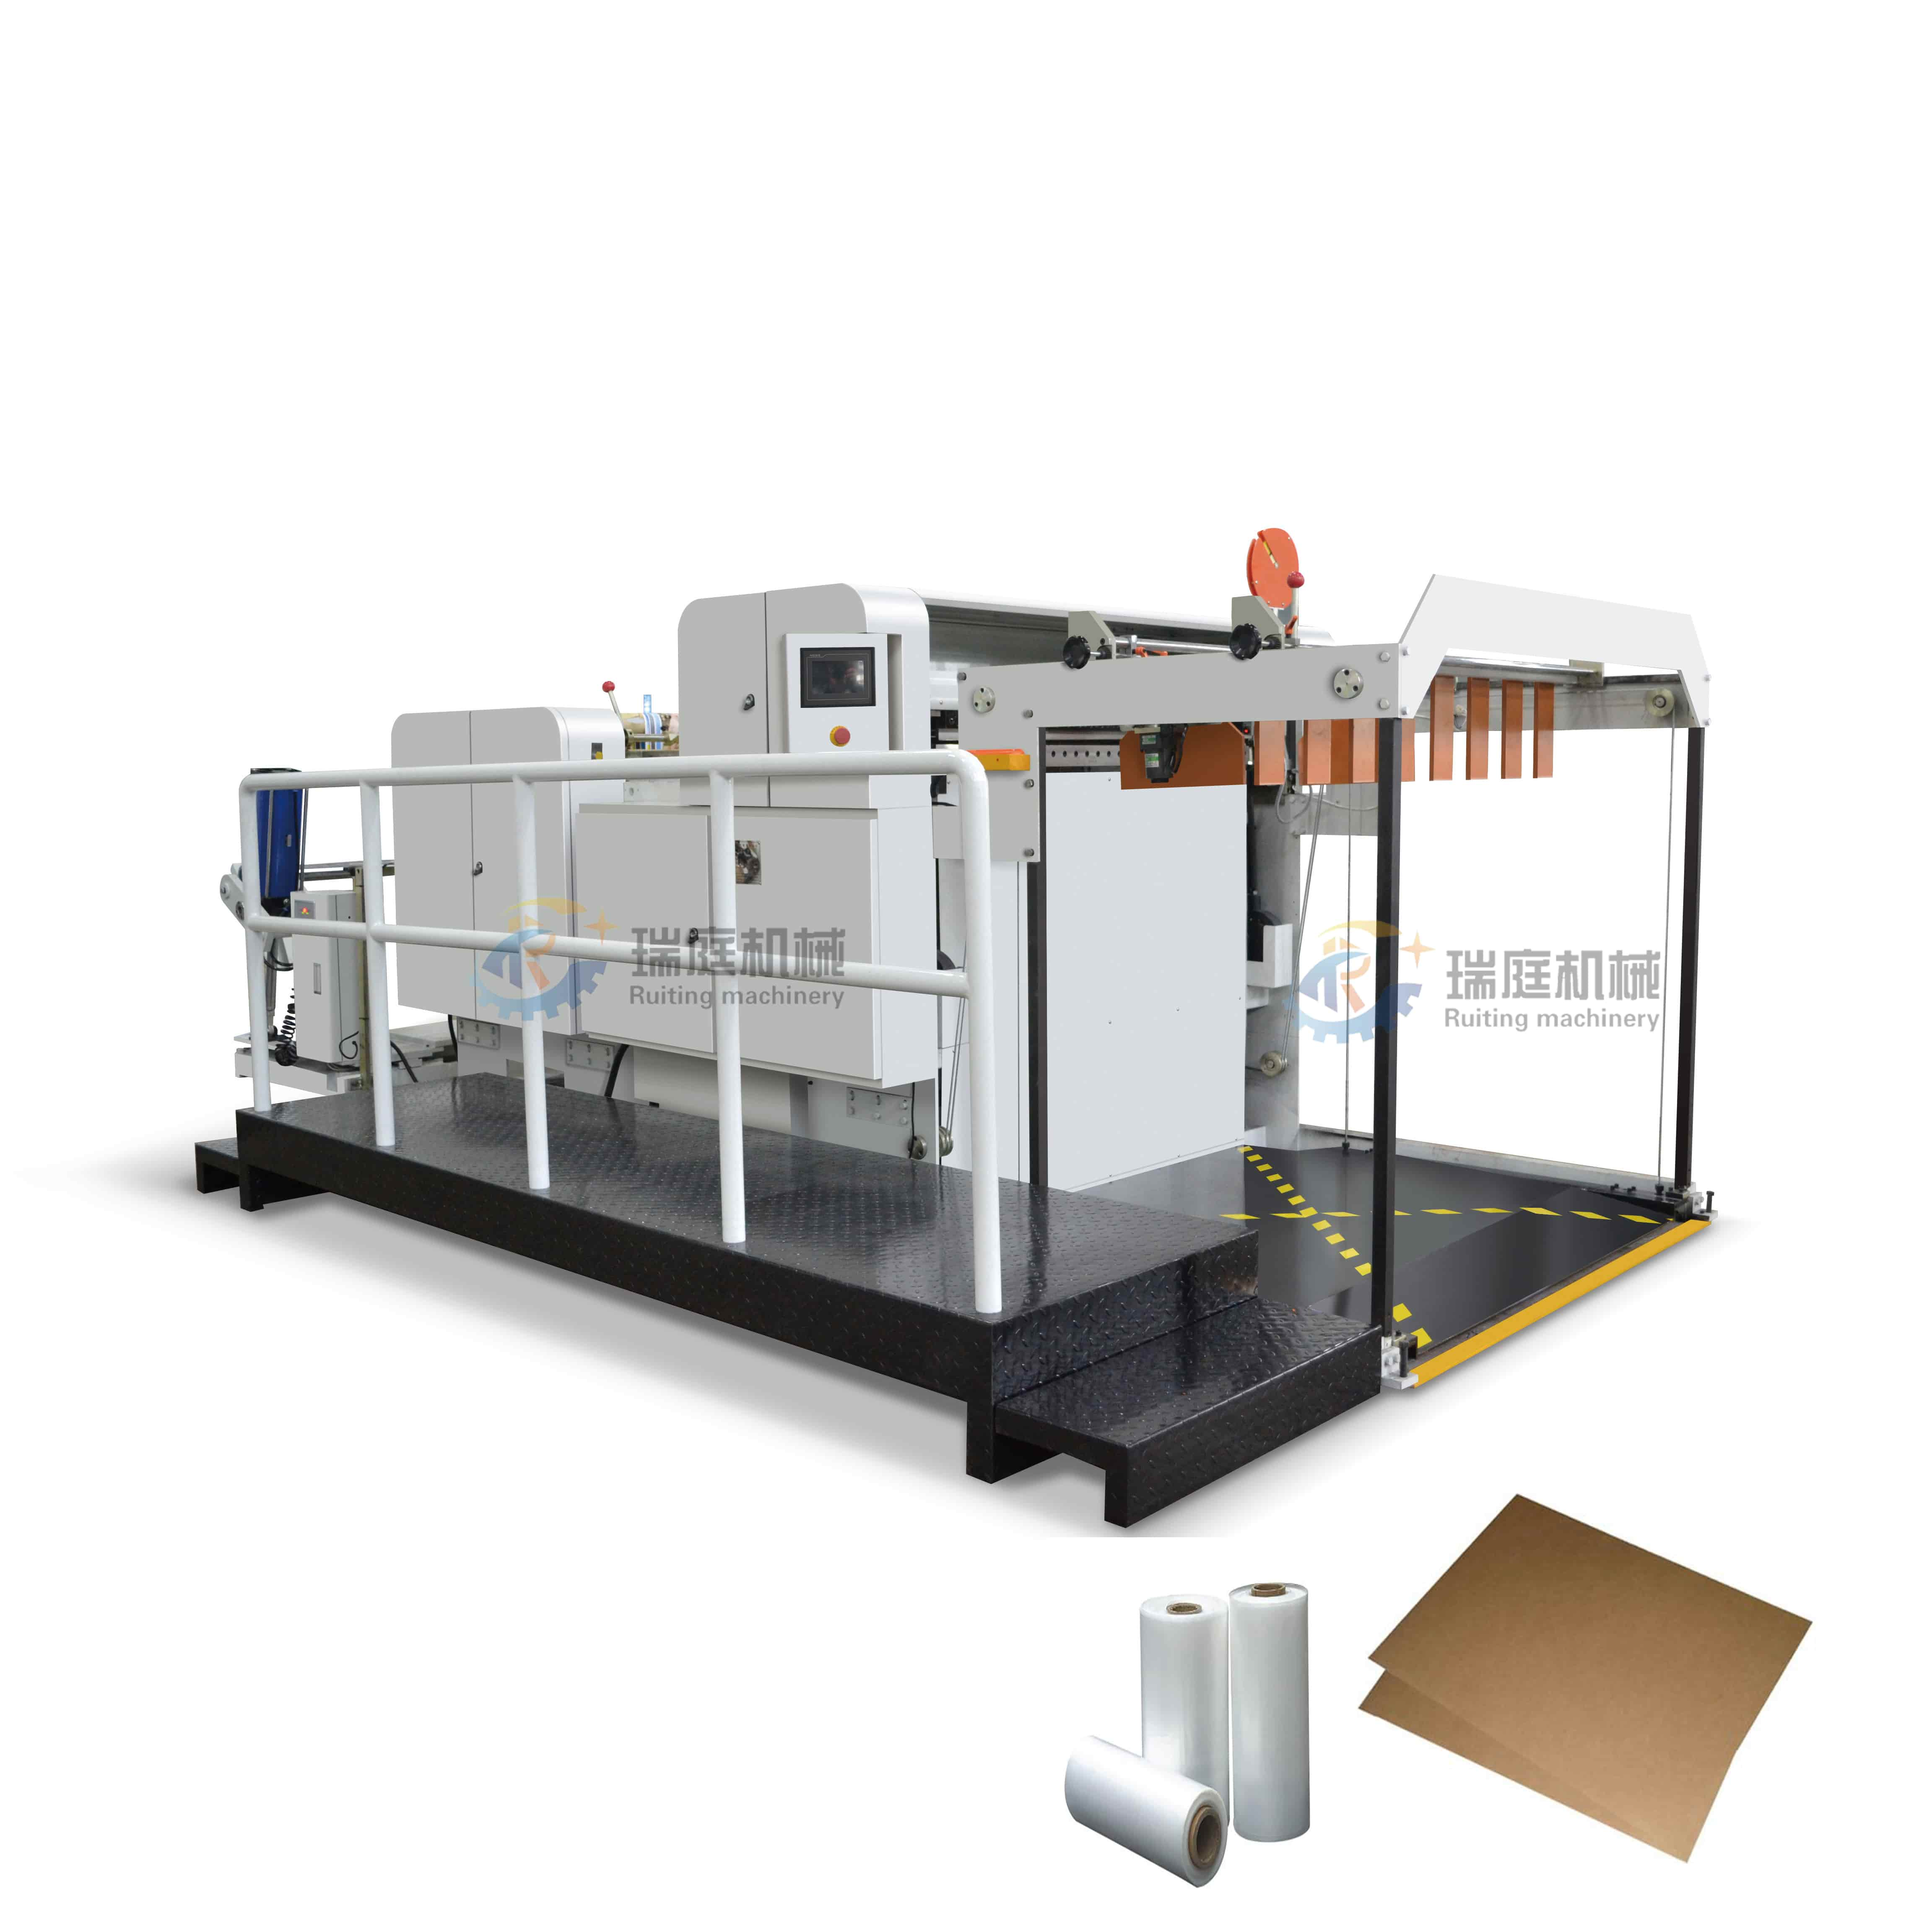
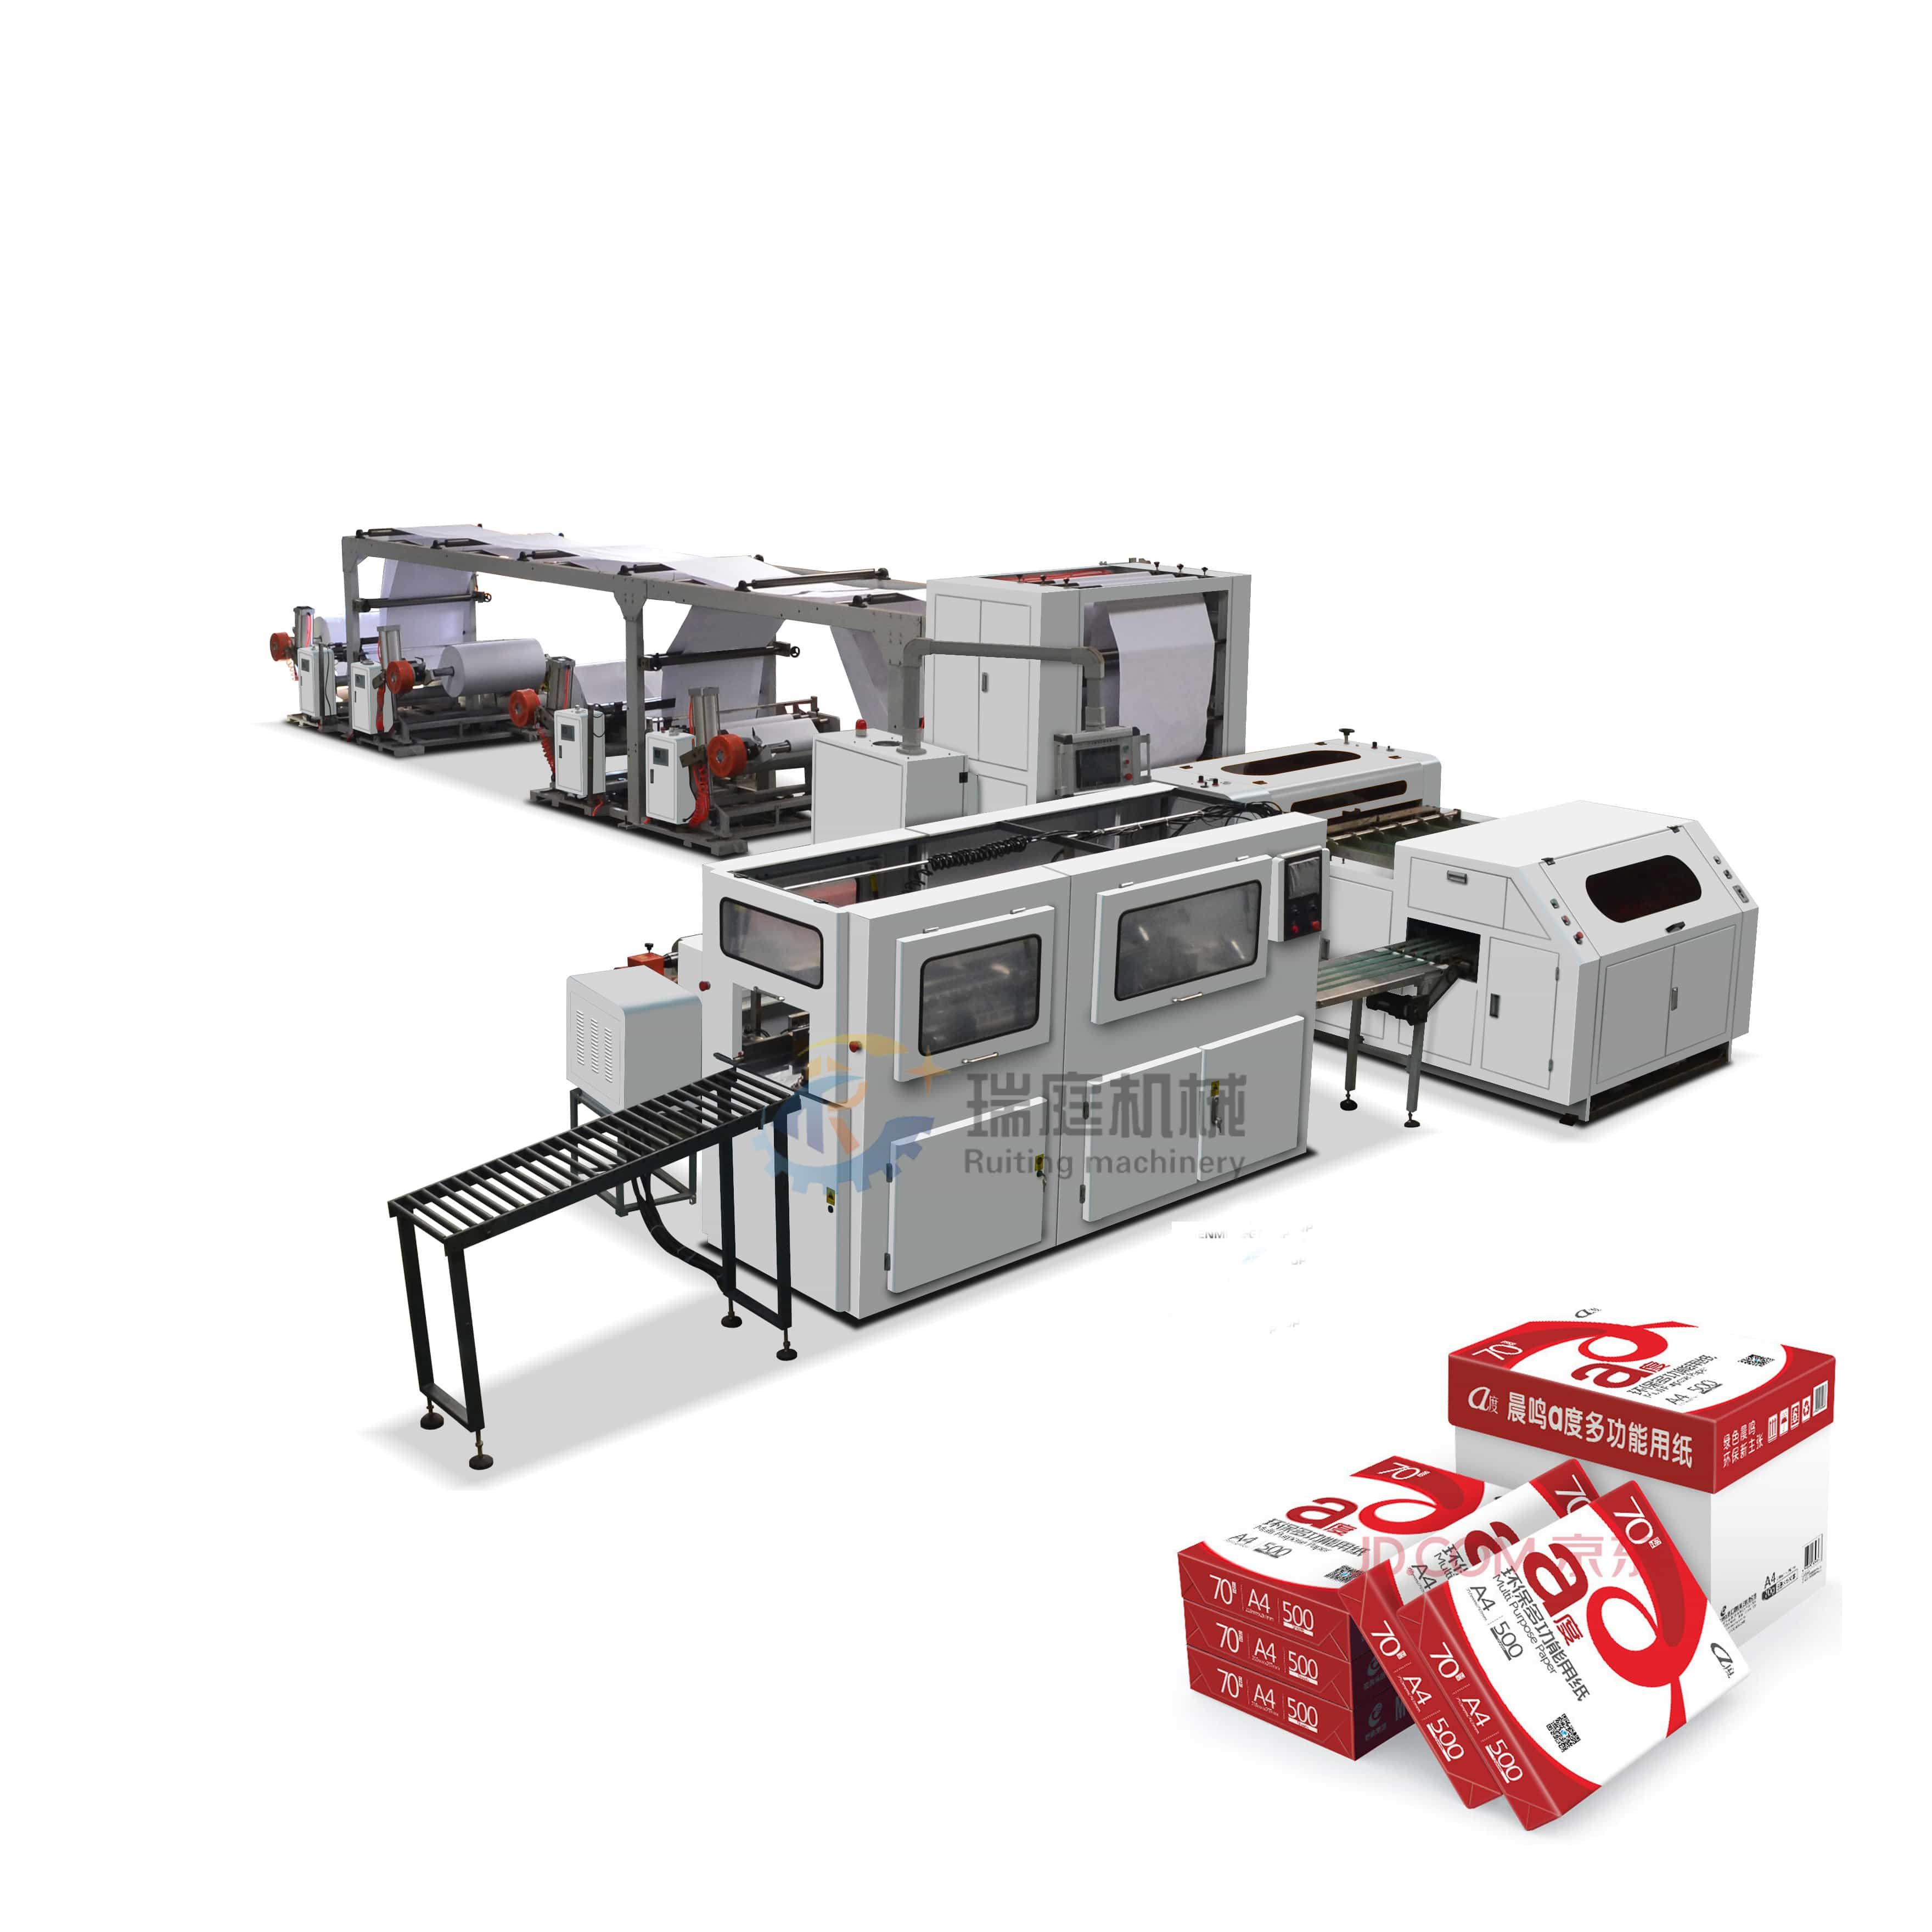
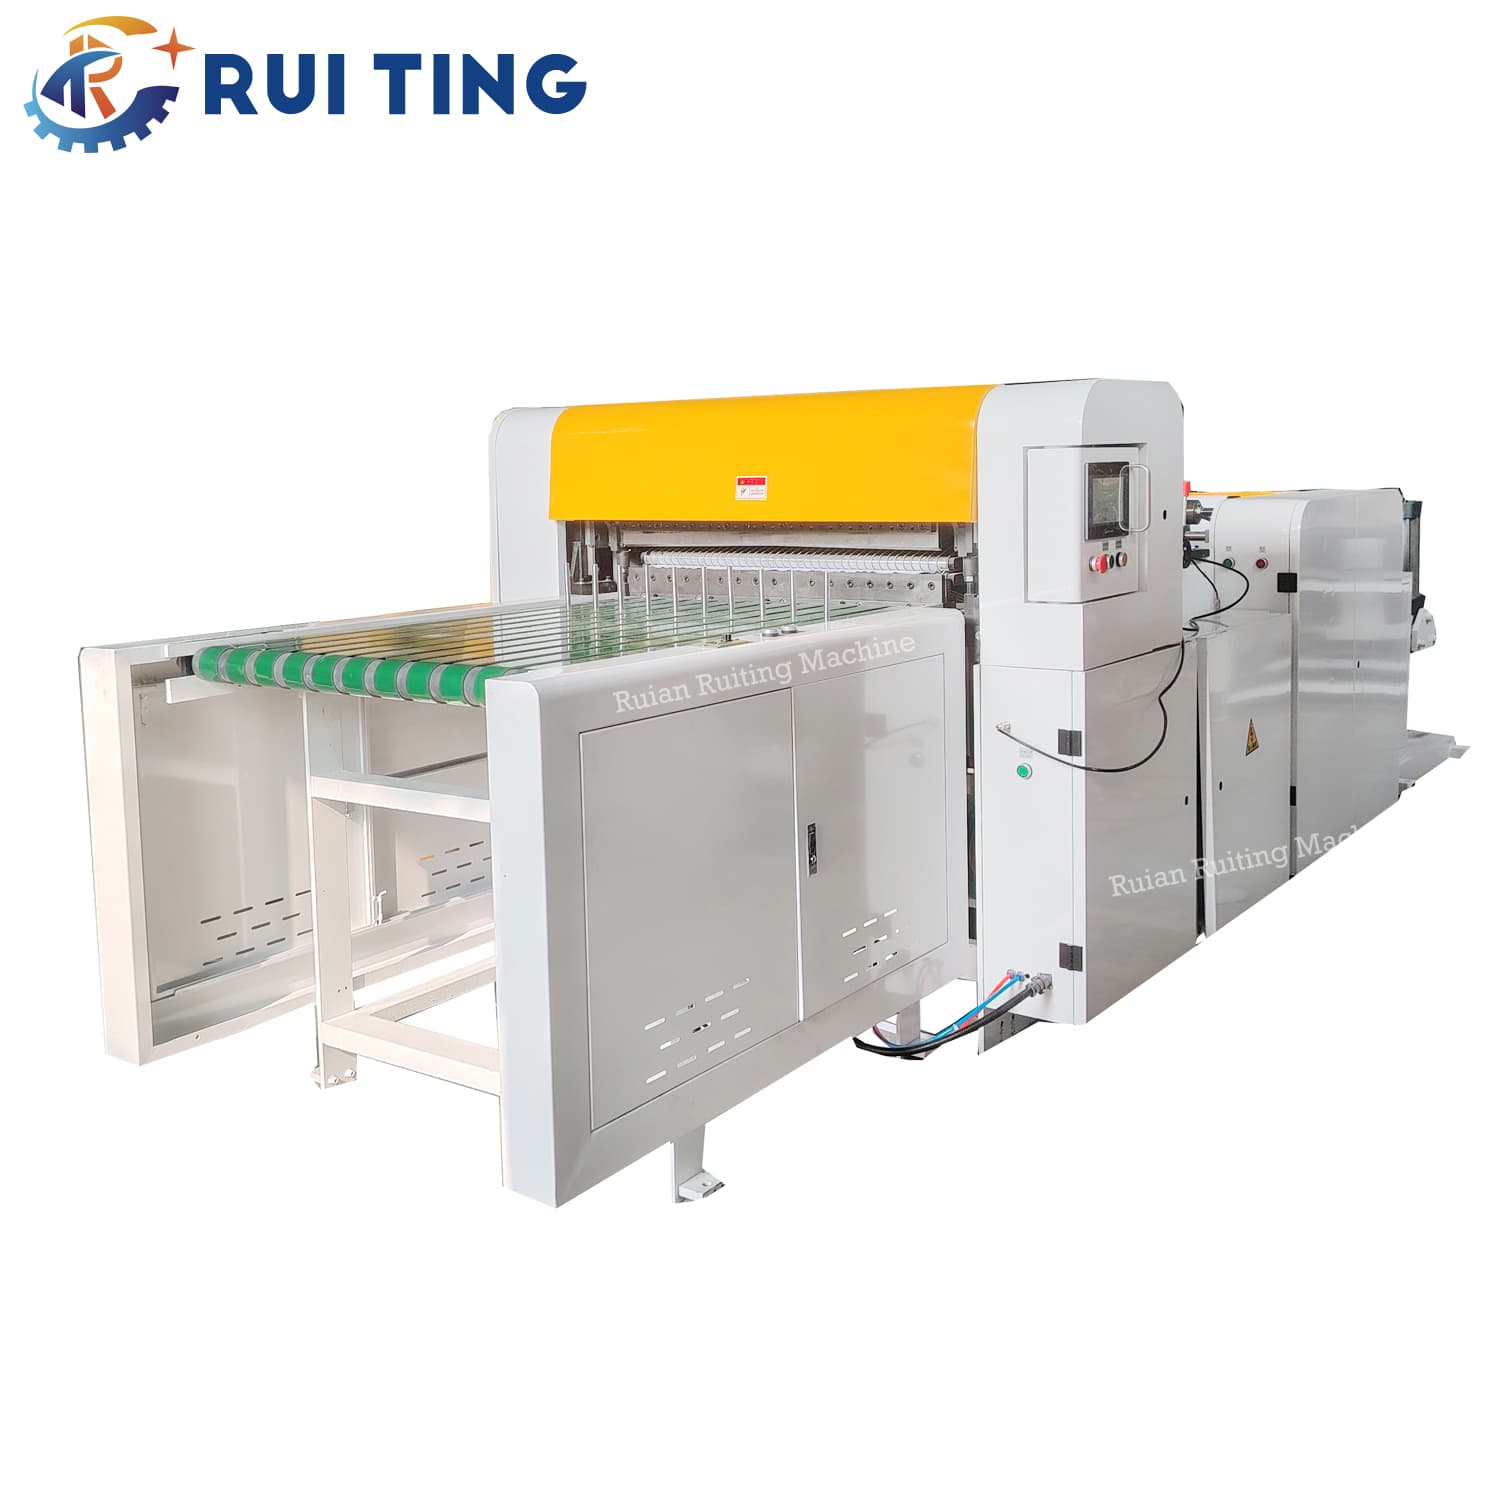
The Roll Sheet Cutting Machine is used to cut continuous coils into single sheets of specified length. Different processing plans can be formulated according to the type of specific processed materials.

Size: 17(L)×3.9(W)×2.35(H)m
Customizable: Support width and configuration customizable
Delivery time: 50 working days
Size: 5.5(L)*1.87(W)*1.85(H)m
Customizable: Support width and configuration customizable
Delivery time: 50 working days
Cross cutting machine size: 14000(L)*2000(W)*1500(H)mm
Auto packaging machine size: 4530(L)×3050(W)×1450(H)mm
Customizable: Support width and configuration customizable
Delivery time:50 working days
Size: 6.0(L)*1.9(W)*1.4(H)m
Customizable: Support width and configuration customizable
Delivery time: 50 working days
Size: 0.4(L)×1.7(W)×1.5(L)m
Customizable: Support width and configuration customizable
Delivery time: 35 working days
FAQ about the Roll Sheet Cutting Machine
Do you have a question?
Everything you need to know about the
product and how it works.
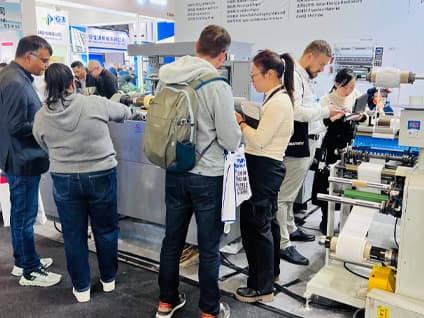
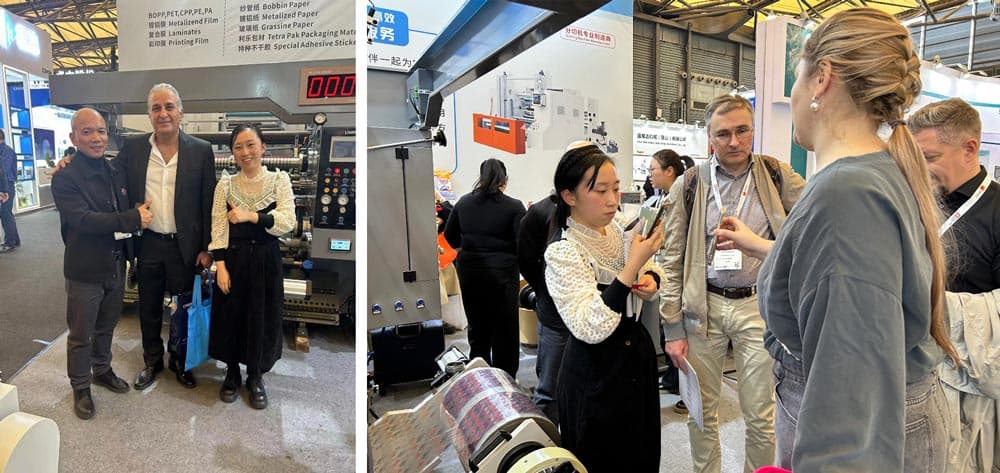
The 2023 labelexpo Asia show we participated in in December was a complete success.
I am very happy that many customers from Russia, the Middle East, and Southeast Asia are very interested in our printing machines, slitting machines, and die cutting machines.
There are also customers who place orders directly after discuss with us about machine details in exhibition. Thank you for all the customer trust and support. We will continue to update, bring better machines and services to our customers.

In the intricate landscape of modern manufacturing, where efficiency, precision, and versatility are the cornerstones of success, slitting stands as a pivotal process that bridges raw material supply and downstream production. It transforms large, unwieldy rolls of flexible materials into smaller, tailored strips, enabling seamless integration into diverse industrial workflows—from packaging and printing to textiles and electronics. Ruian Ruiting Machine (RUI TING), a leading provider of slitting solutions, has refined this technology to meet the evolving demands of global manufacturers, offering a range of high-performance slitting machines that combine precision, automation, and customization.
Slitting is a specialized material conversion process that involves cutting large, wide rolls (known as parent rolls) of flexible web materials into narrower, more manageable rolls of predefined widths. The materials suited for slitting are diverse, encompassing paper, plastic films (such as BOPP, PET, PE, and PVC), metal foils (aluminum, copper), non-woven fabrics, textiles, laminates, adhesive tapes, and label stocks. The core objective of slitting is to tailor raw materials to the exact dimensions required for subsequent processes—whether it’s wrapping individual products, printing labels, or manufacturing hygiene products—ensuring compatibility with downstream equipment and optimizing production efficiency. Ruiting’s slitting machines excel in this conversion, handling everything from thin thermal paper to thick jumbo paper rolls with consistent accuracy.
Slitting operates through three coordinated, precision-engineered stages—unwinding, slitting, and rewinding—each optimized to maintain material integrity and cut accuracy:
1. Unwinding Stage: The parent roll is mounted on an unwinding unit, equipped with tension control systems (such as brakes or dancer rollers) that maintain steady tension. This prevents material stretching, wrinkling, or tearing, a critical feature for delicate materials like thin films or slippery silicone-coated packaging paper.
2. Slitting Stage: The continuous web of material passes through specialized cutting tools tailored to its properties. Ruiting’s machines use razor blades for thin films, circular knives for paper and foil, and shear knives for clean, precise cuts on thicker substrates. Advanced models integrate PLC+touch screen control, allowing operators to set exact cut widths and monitor processes in real time.
3. Rewinding Stage: The slit narrow strips are wound onto multiple shafts, with tension control systems ensuring uniform, consistent rolls. High-end Ruiting machines feature automatic roll changeovers and auto meter counting—operators can set desired meter values, and the machine stops automatically once the target is reached, minimizing material waste and maximizing productivity.
Slitting is more than a simple cutting process; it is a linchpin of efficient manufacturing, offering four key strategic benefits:
1. Downstream Compatibility: Most production equipment requires narrow-width materials. Slitting ensures raw materials fit these machines, eliminating bottlenecks and reducing downtime.
2. Material Optimization: By cutting parent rolls into custom widths, slitting minimizes scrap and maximizes material utilization—critical for cost control, especially with high-value substrates like metal foils or specialty films.
3. Diversification of Applications: A single parent roll can be slit into multiple widths, enabling manufacturers to produce a range of products with one raw material source. For example, a wide BOPP film roll can be slit into narrow strips for candy wrapping or wider sections for food packaging.
4. Quality Consistency: Precision slitting ensures uniform width and smooth edges across all slit rolls, preventing defects in final products (e.g., misaligned labels, uneven packaging) that could compromise brand reputation or compliance.
Uses sharp razor blades—best for thin films and lightweight materials.
Advantages: Simple, low-cost, extremely clean cuts.
Features two circular blades that work like scissors.
Best for: Paper, film, laminates, foil, and various industrial materials.
Advantages: Versatile, durable, high precision.
Uses a male knife pressed into an anvil roll.
Best for: Tough or fibrous materials like non-wovens, foam, rubber.
Advantages: Strong cutting force, suitable for thicker substrates.
Uses focused laser beams to cut materials.
Advantages: Ultra-precise, no blade replacement, ideal for specialty materials.
Selecting the right slitting method requires balancing five critical factors to align with production goals:
1. Material Properties: Thin, stretchy materials require slower speeds and gentle tension control to avoid damage, while thicker, sturdier substrates can handle higher speeds.
2. Precision Requirements: Industries like electronics or medical devices demand slitting tolerances of ±0.1mm, requiring advanced tension control and machine alignment.
3. Production Scale: High-volume runs benefit from rotary slitting machines for continuous operation, while short runs or custom designs may suit digital slitting solutions.
4. Customization Needs: Manufacturers with diverse product lines should prioritize machines that support width and configuration customization.
5. Maintenance and Reliability: Choose machines with accessible components and reputable parts to minimize downtime; regular cleaning, tool replacement, and tension system checks extend machine lifespan.
Ruiting’s slitting machines stand out in the market for their integration of advanced technology, user-centric design, and industrial durability, offering six key advantages:
1. Advanced Automation: PLC+touch screen control simplifies operation, while auto meter counting, automatic deviation correction, and roll changeovers reduce manual intervention and human error.
2. Exceptional Performance: Speeds range from 120m/min to 500m/min, with precision cutting tolerances to meet even the strictest industry standards.
3. Robust Construction: Imported components and hard-oxidized guide rollers ensure smooth operation and long-term reliability.
4. Intelligent Features: Tension control systems maintain consistent material stability, while self-protection functions shield electronic and electrical parts from accidental damage. Label slitters include built-in defect detection for quality assurance.
5. Full Customization: Support for width and configuration customization allows adaptation to unique production needs, from narrow label strips to wide film rolls.
6. Reliable After-Sales Service: Technical support via email, phone, or video call, with free spare parts during the warranty period—ensuring minimal disruption to production.
Slitting is an indispensable process in modern manufacturing, enabling the conversion of raw materials into usable formats that drive efficiency, quality, and versatility. As industries evolve to demand higher precision, faster speeds, and greater customization, Ruiting’s slitting machines emerge as trusted partners—combining advanced technology, robust design, and customer-centric support to meet diverse production needs. Whether processing labels, paper, or films, Ruiting’s solutions deliver consistent results, minimize waste, and empower manufacturers to stay competitive in a dynamic market.
1. What materials can be slit?
Plastic films, paper, foil, textiles, non-wovens, and metal sheets can all be processed by slitting machines.
2. What is the difference between shear slitting and razor slitting?
Razor slitting is ideal for thin films.
Shear slitting is more versatile and can handle thicker materials.
3. Why is tension control important in slitting?
Proper tension ensures smooth, wrinkle-free unwinding and evenly wound slit rolls.
4. What industries rely on slitting?
Packaging, printing, electronics, automotive, labeling, and metal processing.
5. Why choose Ruiting Slitting Machine?
Because it offers high-speed performance, precise cutting, excellent tension management, and versatile applications for modern manufacturing.
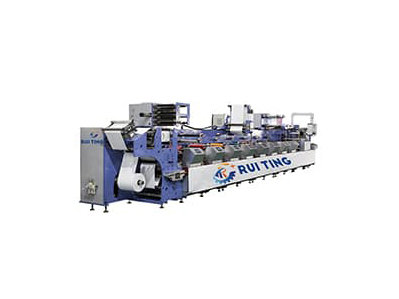
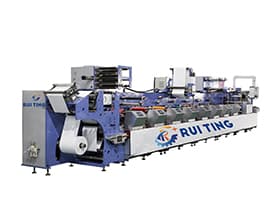
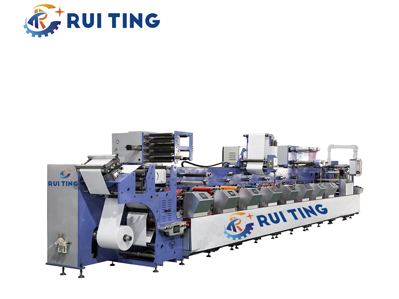
A flexo printing machine is a high-efficiency printing system that uses flexible relief plates to transfer ink onto a wide range of packaging and labeling materials. Known for its speed, versatility, and ability to run long production jobs with consistent quality, flexographic printing is widely used in food packaging, labels, flexible films, corrugated boxes, and industrial materials. Its adaptability to various substrates and inline finishing processes makes it one of the most important technologies in modern packaging production.
Flexographic printing uses a series of rotating cylinders to transfer ink from an anilox roller to a flexible photopolymer plate, which then prints the image onto the substrate. The workflow generally includes:
1. Ink Metering – Ink from the ink pan is metered evenly onto the anilox roller.
2. Ink Transfer – The anilox roller transfers the controlled ink layer to the relief plate.
3. Image Printing – The plate cylinder prints the image onto the moving substrate.
4. Drying/Curing – Between colors, hot air or UV curing systems dry the ink to prepare for the next layer.
5. Rewinding or Inline Conversion – The material is rewound or sent to post-press functions.
This continuous process allows flexo machines to reach high speeds (often 100–200 m/min or more) with stable color accuracy and repeatability.
Flexo printing supports several ink types, each suited to specific materials and applications:
1. Water-Based Inks
Common in paper packaging and labels; eco-friendly with strong adhesion.
2. Solvent-Based Inks
Ideal for films like PET, BOPP, or PVC; fast-drying and durable.
3. UV-Curable Inks
Cured with ultraviolet light; offer high gloss, sharp detail, and excellent chemical resistance.
4. LED-UV Inks
Energy-efficient curing, low heat emission, suitable for heat-sensitive substrates.
Different ink systems allow flexo presses to handle packaging for food, cosmetics, pharmaceuticals, and industrial uses.
Flexo printing machines are highly versatile and can print on:
Paper & cardboard – labels, cartons, corrugated packaging
Flexible films – BOPP, PET, PE, PVC, and laminated films
Foils and metallic films
Adhesive label stock
Nonwoven materials – tissues, hygiene products
Specialty substrates – shrink sleeves, tags, tickets
This wide substrate compatibility is one of the strongest advantages of flexographic technology.
Flexo printing depends heavily on precise prepress and plate preparation:
1. Prepress
Digital files are processed for trapping, color separation, distortion compensation, and screening.
2. Platemaking
Photopolymer plates are produced using digital laser imaging (CTP) and UV exposure. Plate quality directly impacts print sharpness and consistency.
3. Press Setup
Key setup elements include:
Installing plates on plate cylinders
Mounting anilox rollers with the correct line count and volume
Adjusting ink viscosity
Setting impression and register
Testing drying performance
A correct setup ensures minimal waste, stable colors, and smooth operation at high speeds.
Flexo Printing Machine often integrate inline finishing processes to complete the product without additional machinery. Typical post-press functions include:
Die-cutting – for labels, stickers, and packaging shapes
Laminating – for added strength, barrier protection, or gloss
Cold or hot foiling – for premium packaging
Slitting and rewinding – converting printed rolls into final usable widths
Varnishing or coating – matte, gloss, spot UV, or protective layers
Inline post-press operations improve efficiency, reduce handling, and ensure consistent quality.
A flexo printing machine is a versatile, fast, and widely used printing technology that supports many inks, substrates, and inline finishing techniques. With precise prepress workflows, advanced plate technology, and efficient post-press options, flexographic printing remains a top choice for high-quality packaging, labels, and industrial printing applications.
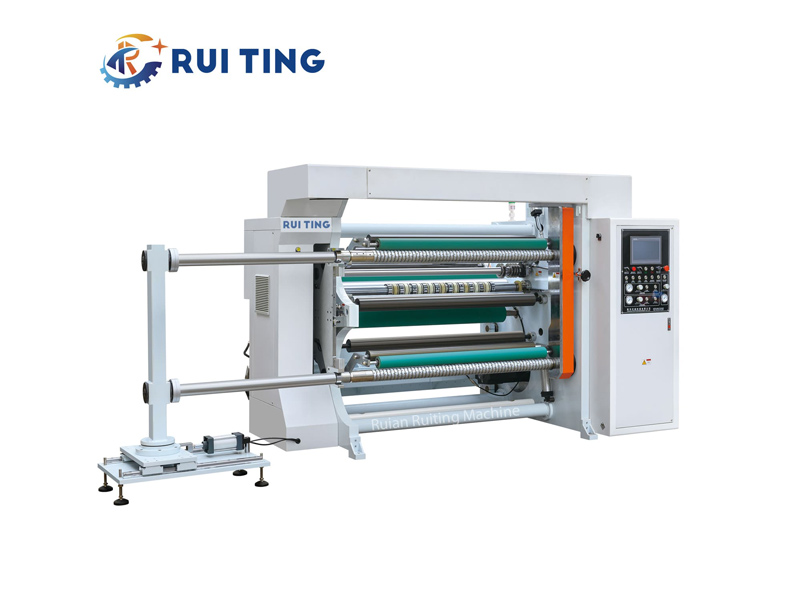
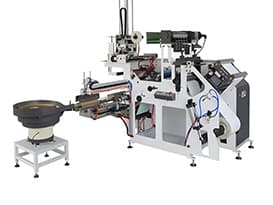
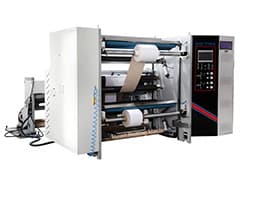
In the world of manufacturing and material processing, efficiency and precision are paramount. One piece of equipment that plays a crucial role in achieving these goals for web-based materials is the slitter rewinder. This specialized machine is designed to handle large, wide rolls of flexible materials, transforming them into smaller, more manageable rolls tailored to specific applications. Whether in packaging, printing, or textiles, slitter rewinders are indispensable tools that streamline production workflows.
A slitter rewinder is a mechanical device used to cut (slit) large, wide rolls of flexible materials into narrower strips and then wind (rewind) these strips into smaller, individual rolls. The materials processed by slitter rewinders are typically in the form of a continuous web, which can include paper, plastic films, foil, non-wovens, textiles, and laminates. The primary purpose of this machine is to convert bulk, wide-width materials into customized widths that meet the specific needs of downstream processes or end products. For example, a wide roll of plastic film used in packaging might be slit into narrower rolls suitable for wrapping individual products or making plastic bags.
Slitter rewinders operate in three coordinated stages—unwinding, slitting, and rewinding—to ensure precise, consistent results.
Unwinding Stage: The large parent roll is mounted here, with tension controls (brakes, dancers) maintaining steady tension to prevent material stretching, wrinkling, or tearing.
Slitting Stage: The web passes through adjustable cutting tools tailored to the material. Common tools: razor blades (thin films), circular knives (thicker materials like paper/foil), shear knives (clean precision cuts).
Rewinding Stage: Multiple shafts wind slit strips into smaller rolls. Tension control ensures uniform, consistent rolls, with advanced models featuring automatic roll changeovers for continuous production.
Slitter rewinders are versatile machines used across a wide range of industries due to their ability to process various flexible materials. Here are some of the key applications:
Packaging Industry: This is one of the largest users of slitter rewinders. They process materials like polyethylene (PE) film, polypropylene (PP) film, aluminum foil, and paperboard into narrower rolls for use in packaging applications such as shrink wrapping, stretch wrapping, candy wrapping, and bag making.
Printing Industry: In printing, slitter rewinders are used to convert large rolls of printing paper, label stock, or adhesive films into narrower rolls suitable for digital printers, flexographic printers, or label applicators. They ensure that the printed materials are cut to the exact width needed for printing or finishing processes.
Textile Industry: Textile slitter rewinders process fabrics, non-woven materials, and yarns. For example, they may slit wide rolls of non-woven fabric into narrower strips used in medical products or hygiene products.
Metal Processing Industry: Thin metal foils, such as aluminum foil or copper foil, are often slit into narrower widths using slitter rewinders for applications in electronics, packaging, and automotive parts.
Paper Industry: In the paper industry, slitter rewinders convert large rolls of paper into smaller rolls for consumer use or industrial use.
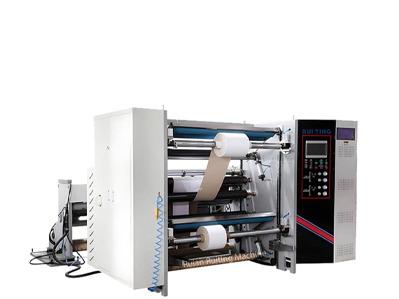
RUITING's label slitting and rewinding machine is equipped with multiple rotating blades to make precise cuts within the width of the mother roll. The equipment is designed for speed operation, speed to 120-350m/min.
♦ Equipped with a tension control system to ensure consistent tension throughout the process
♦ With automatic conversion function, it allows flexible switching of products between different label types.
♦ Comes with a self-contained detection system to detect defects such as missing labels and printing errors.
RUITING’s paper slitting and rewinding machine is engineered for high-precision converting of large rolls into smaller rolls with specific widths. It adopts advanced circular knife or air knife slitting technology and features a PLC touch screen control system for intuitive operation and efficient performance.
♦ Equipped with a precise tension control system to maintain stable tension and ensure smooth, burr-free edges throughout the process.
♦ Supports automatic deviation correction and meter counting functions to minimize material waste and enhance production accuracy.
♦ Capable of processing a wide range of materials such as paper, film, and adhesive substrates for diverse industrial applications.
Film slitting rewinding machine are capable of handling all types of flexible films and use rotating blades to accurately slit the film, preferably efficiently rewinding it onto smaller cores.
♦ The machines are driven by servo motors for high production speeds of up to 350m/min.
♦ Germany NSK imported bearings, circuit breaker using Chint Electric, the quality is more assured.
♦ The machine is controlled by PLC panel, high degree of automation.

Q1: What materials can a slitter rewinder process?
A1: It handles flexible web materials like paper, plastic films (PE, PP, PVC), foil, non-wovens, textiles, laminates, adhesive tapes and label stocks, with custom tools/tension controls for specific material properties.
Q2: How precise is the slitting process?
A2: Precision depends on cutting tools, machine alignment and tension control. Modern models reach ±0.1mm tolerances, suitable for high-precision uses like electronics/medical devices.
Q3: Can it handle different roll sizes?
A3: Yes—adjustable unwinding/rewinding units fit various parent roll sizes and produce rewound rolls of different diameters/widths for production flexibility.
Q4: What maintenance is needed?
A4: Regular cleaning, cutting tool replacement, lubrication, tension system checks and component inspections. Follow the manufacturer’s schedule to extend lifespan and reduce downtime.
Q5: Are slitter rewinders automated?
A5: Yes—basic models need some manual work; advanced ones offer full automation (auto loading, roll changeovers, quality inspection) to boost efficiency and consistency.
When purchasing packaging printing equipment, production speed stands out as a critical factor—but figuring out which speed suits your requirements isn’t always straightforward. Opting for a speed that’s too high may compromise quality, while a speed that’s too low can end up wasting time and resources. This article breaks down the key, practical factors to help you identify the right production speed for your specific work.
The type of material you work with has a direct impact on how quickly your equipment can operate. Different materials handle speed differently, and pushing them beyond their limits often leads to issues like misalignment or damage.
Thin, flexible materials—like lightweight plastic films—typically require slower speeds. They tend to stretch or shift easily when run at high speeds, and this can damage the precision of prints or cuts.
Thicker, sturdier materials (such as heavy-duty paper or thick cardboard) can handle slightly faster speeds. Their sturdiness helps them maintain stability throughout the processing phase, which lowers the chance of errors.
The greater the complexity of the output you want to create, the more you’ll need to tweak the speed to maintain good quality. Process complexity directly influences how much time each step of production requires.
Simple tasks—such as single-color printing or basic straight-line die-cutting—make faster speeds possible. These tasks involve fewer steps that need coordination, so the equipment doesn’t require additional time for adjustments.
Complex tasks (like multi-color printing with tight registration or intricate die-cut patterns) call for slower speeds. Every color or cut detail needs precise alignment, and higher speeds raise the risk of mistakes—such as colors not aligning properly or cuts being inaccurate.
The quality standards your final product must meet will establish a clear limit on how fast your equipment can be operated. Higher quality demands more control, which often means scaling back on speed.
Products meant for industries with strict requirements—such as food packaging labels or medical device packaging—call for slower speeds. These uses demand zero errors; even small misprints or uneven cuts can result in compliance problems.
Products with lower quality needs (like basic shipping labels or non-critical packaging) can use faster speeds. Minor flaws in these products have less of an impact, so speed can be prioritized without putting usability at risk.
Selecting the right production speed for packaging printing equipment isn’t about choosing the fastest option; it’s about balancing three key elements: the type of material you use, the complexity of your process, and the quality standards for your final product. By focusing on these elements, you’ll steer clear of wasted time, cut down on errors, and make sure your equipment performs well for your specific requirements.
If you’re in search of packaging printing equipment that can adjust to different speeds—whether for thin films, complex prints, or high-quality labels—take a look at Our Product Page. We provide options crafted to meet a range of production needs, helping you find a solution that aligns with your speed and quality objectives.
GET A QUOTE